在 Angular 中为 RichTextEditor 添加图片库
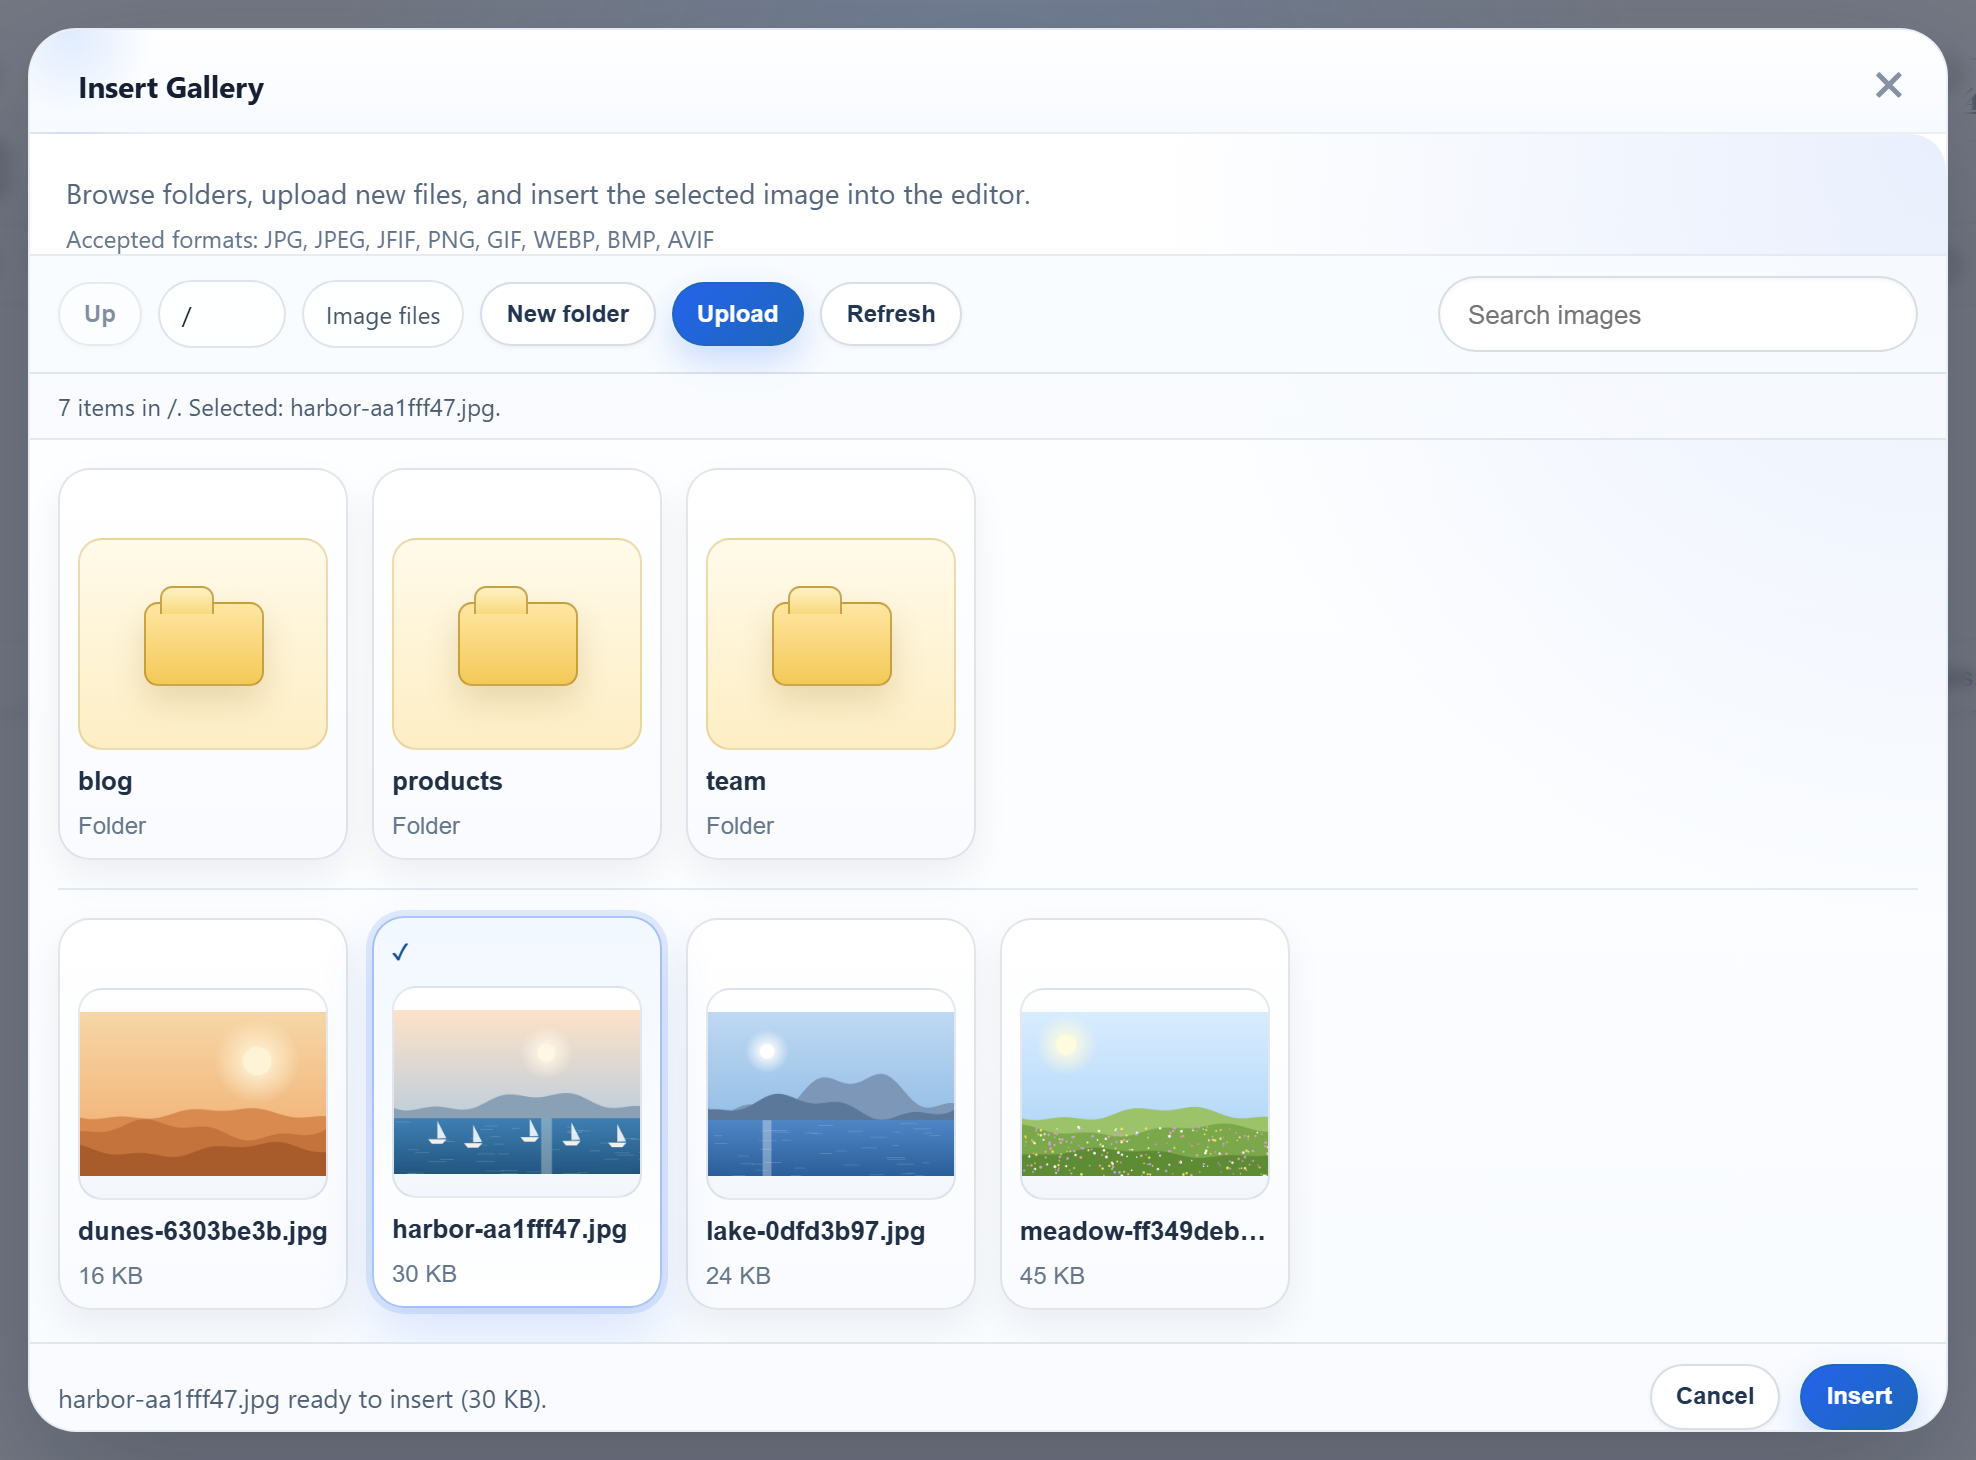
在 Angular 中,RichTextEditor 的 Insert Gallery 对话框需要的东西和在任何单页应用中一样,共三样:在应用之前加载的编辑器脚本、一个在正确时机创建和销毁编辑器的组件,以及一个把对话框的请求转发到您的 API 的开发服务器。本页介绍如何在 Angular 22 独立组件中实现这些,并用 ng serve 对接 Express 示例进行了测试。
在 index.html 中加载编辑器脚本
编辑器由一组传统的浏览器脚本组成,它们定义了全局对象 RichTextEditor。把它们放在 src/index.html 中,位于 Angular 打包文件之前:
<!-- Plain browser scripts from public/, loaded before the Angular bundle. -->
<link rel="stylesheet" href="/richtexteditor/rte_theme_default.css">
<script src="/richtexteditor/rte.js"></script>
<script src="/richtexteditor/plugins/all_plugins.js"></script>
<script src="/rte-files.js"></script>
这些文件位于 public/richtexteditor/ 中。在新建的 Angular 项目中,angular.json 已经会把 public/ 中的所有内容作为静态资源复制到构建输出中,因此那里不需要做任何修改。示例按照下载包的原样,把编辑器作为独立文件保存在 /richtexteditor/ 下。它没有使用 angular.json 的 "scripts" 数组(该数组会把脚本打包成一个文件)。我们没有以那种方式测试过编辑器。
组件
// RichTextEditor is the global from the scripts in index.html.
declare const RichTextEditor: new (element: HTMLElement, options: object) => EditorInstance;
type EditorInstance = { setHTMLCode(html: string): void; getHTMLCode(): string; destroy(): void };

@Component({
  selector: 'app-rich-text-editor',
  template: `<div #container></div>`,
})
export class RichTextEditorComponent implements AfterViewInit, OnDestroy {
  readonly options = input.required<object>();
  readonly initialHtml = input('');
  private readonly container = viewChild.required<ElementRef<HTMLDivElement>>('container');
  private editor?: EditorInstance;

  ngAfterViewInit(): void {
    this.editor = new RichTextEditor(this.container().nativeElement, this.options());
    this.editor.setHTMLCode(this.initialHtml());
  }

  ngOnDestroy(): void {
    this.editor?.destroy();
    this.editor = undefined;
  }

  getHTML(): string {
    return this.editor?.getHTMLCode() ?? '';
  }
}
declare const RichTextEditor向 TypeScript 声明这个全局对象,只包含组件用到的三个方法。viewChild.required获取模板中的div。ngAfterViewInit是该元素存在后的第一个钩子,因此在那里创建编辑器。ngOnDestroy调用destroy(),这样编辑器会随组件一起销毁,例如在路由切换或@if变为 false 时。示例只有一个页面,因此我们的浏览器测试没有覆盖这个钩子。- 信号输入(
input.required、input)传入选项和初始 HTML。它们只在创建时读取一次。
项目使用 ng new --minimal --zoneless 创建。编辑器在没有 zone.js 的情况下也能正常工作:它自己处理 DOM 事件,组件中也没有任何依赖变更检测的地方。应用通过模板引用变量传入选项并读取 HTML:
const options = {
  toolbar: 'full',
  galleryEndpoint: '/rte/gallery', // forwarded to Express by src/proxy.conf.json
  maxUploadFileSize: 4000000,
};
示例中的 Show HTML 按钮调用 editor.getHTML(),输出了 <p>Hello from Angular.</p>。
开发期间转发 /rte/ 和 /uploads/
ng serve 在端口 5113 上提供应用。代理配置文件把图片库和上传路由以及图片请求发送到端口 5101 上的 Express 示例:
{
  "/rte/": { "target": "http://localhost:5101", "secure": false },
  "/uploads/": { "target": "http://localhost:5101", "secure": false }
}
示例在 angular.json 的 projects.frontend-angular.architect.serve.options 下一次性设置了 "proxyConfig": "src/proxy.conf.json"。我们也以 ng serve --proxy-config src/proxy.conf.json 方式运行过,结果相同。Angular 的开发服务器基于 Vite。Angular 会把包含通配符的键(例如 /api/**)转换为正则表达式,而把普通的键原样传给 Vite。Vite 按前缀匹配这些键,因此请保留末尾的斜杠。使用 "/rte/" 时,/rte-files.js 不会被转发:ng serve 提供的是应用自己在 public/ 中的副本,响应中没有 X-Powered-By: Express 标头。
代理只用于 ng serve。生产构建没有代理:请从同一个源提供应用和 API。
对话框显示什么
顶部的图片是这个 Angular 应用中的对话框,列出了Node.js 图片库指南中介绍的 Express 服务器上的文件夹和图片。与在其他所有框架中一样,已发布版本的图片库提示中列出了 JFIF、BMP 和 AVIF,而服务器会拒绝这些格式。被拒绝的上传会显示对话框自己的 "Upload failed for <name>." 消息。
测试
下载本指南的示例项目和 Express 示例,并先启动 Express。然后在 Angular 项目中执行:
npm install
npm start
  ➜  Local:   http://localhost:5113/

curl "http://localhost:5113/rte/gallery?folder="
{"currentFolder":"","currentFolderDisplay":"/","parentFolder":null,"folders":[...],"images":[...]}
npm start 会先把编辑器文件复制到 public/ 中。请把 RTE_DIR 设置为您的编辑器文件夹,或者自己把该文件夹放到 public/richtexteditor。打开 http://localhost:5113 并点击 Insert Gallery。我们在 Chromium 中用 Angular 22.2 运行了整个流程:列表与服务器一致,New folder 和 Upload 通过代理正常工作,Insert 把图片插入了文本。